DIY Shiplap Wall
I have been bothering my husband for about a year now to hop on the shiplap trend, I keep throwing out ideas and basically asking for every wall in the house to be done reasoning how awesome it would look and shoving pictures in his face, he wasn’t really sure about the whole thing and of course assumed this was just a phase. Sometimes you have to change tactics so, Fixer Upper started getting played on repeat until he started watching, next thing I know he comes to me and says”wow that looks really good we should do it on one of our walls” Why sure of course that is a fabulous idea when can we start? Tomorrow?
Now that my Handy Man is on board I was full steam ahead. Off to the Home Depot we went, when my husband does something he wants it to be done right and of course use the best material so what I was thinking was going to be a rather inexpensive project using tongue and groove boards from Home Depot ( which I had researched on Pinterest) turned into a pretty advanced and expensive project that kept snowballing out of control.
Home Depot did not have actual shiplap and if we were doing a shiplap wall we collectively decided it better be actual shiplap. We decided to check out our local Lumber store, Alexander Lumber located in Joliet, IL. We gathered our 2 boys and headed to the Lumber yard, let me tell you taking 2 young boys into a Lumber/building store will literally take years off your life, proven in an independent study, conducted by myself. I should have known that this was going to be good when they were so excited to go. After what seemed like a million times of explaining why they could not open and shut all the windows, doors and cabinets over and over, or play hide and seek in this showroom or even use trim pieces as swords and sucking all the fun out of this little trip we found what we were looking for. They placed an order for us and were going to deliver which was best of all.
We choose the 6 inch pre primed pine shiplap, they also have 8 inch. We were looking for a more modern feel and had really liked the more narrow pieces. a week later and D Day had arrived
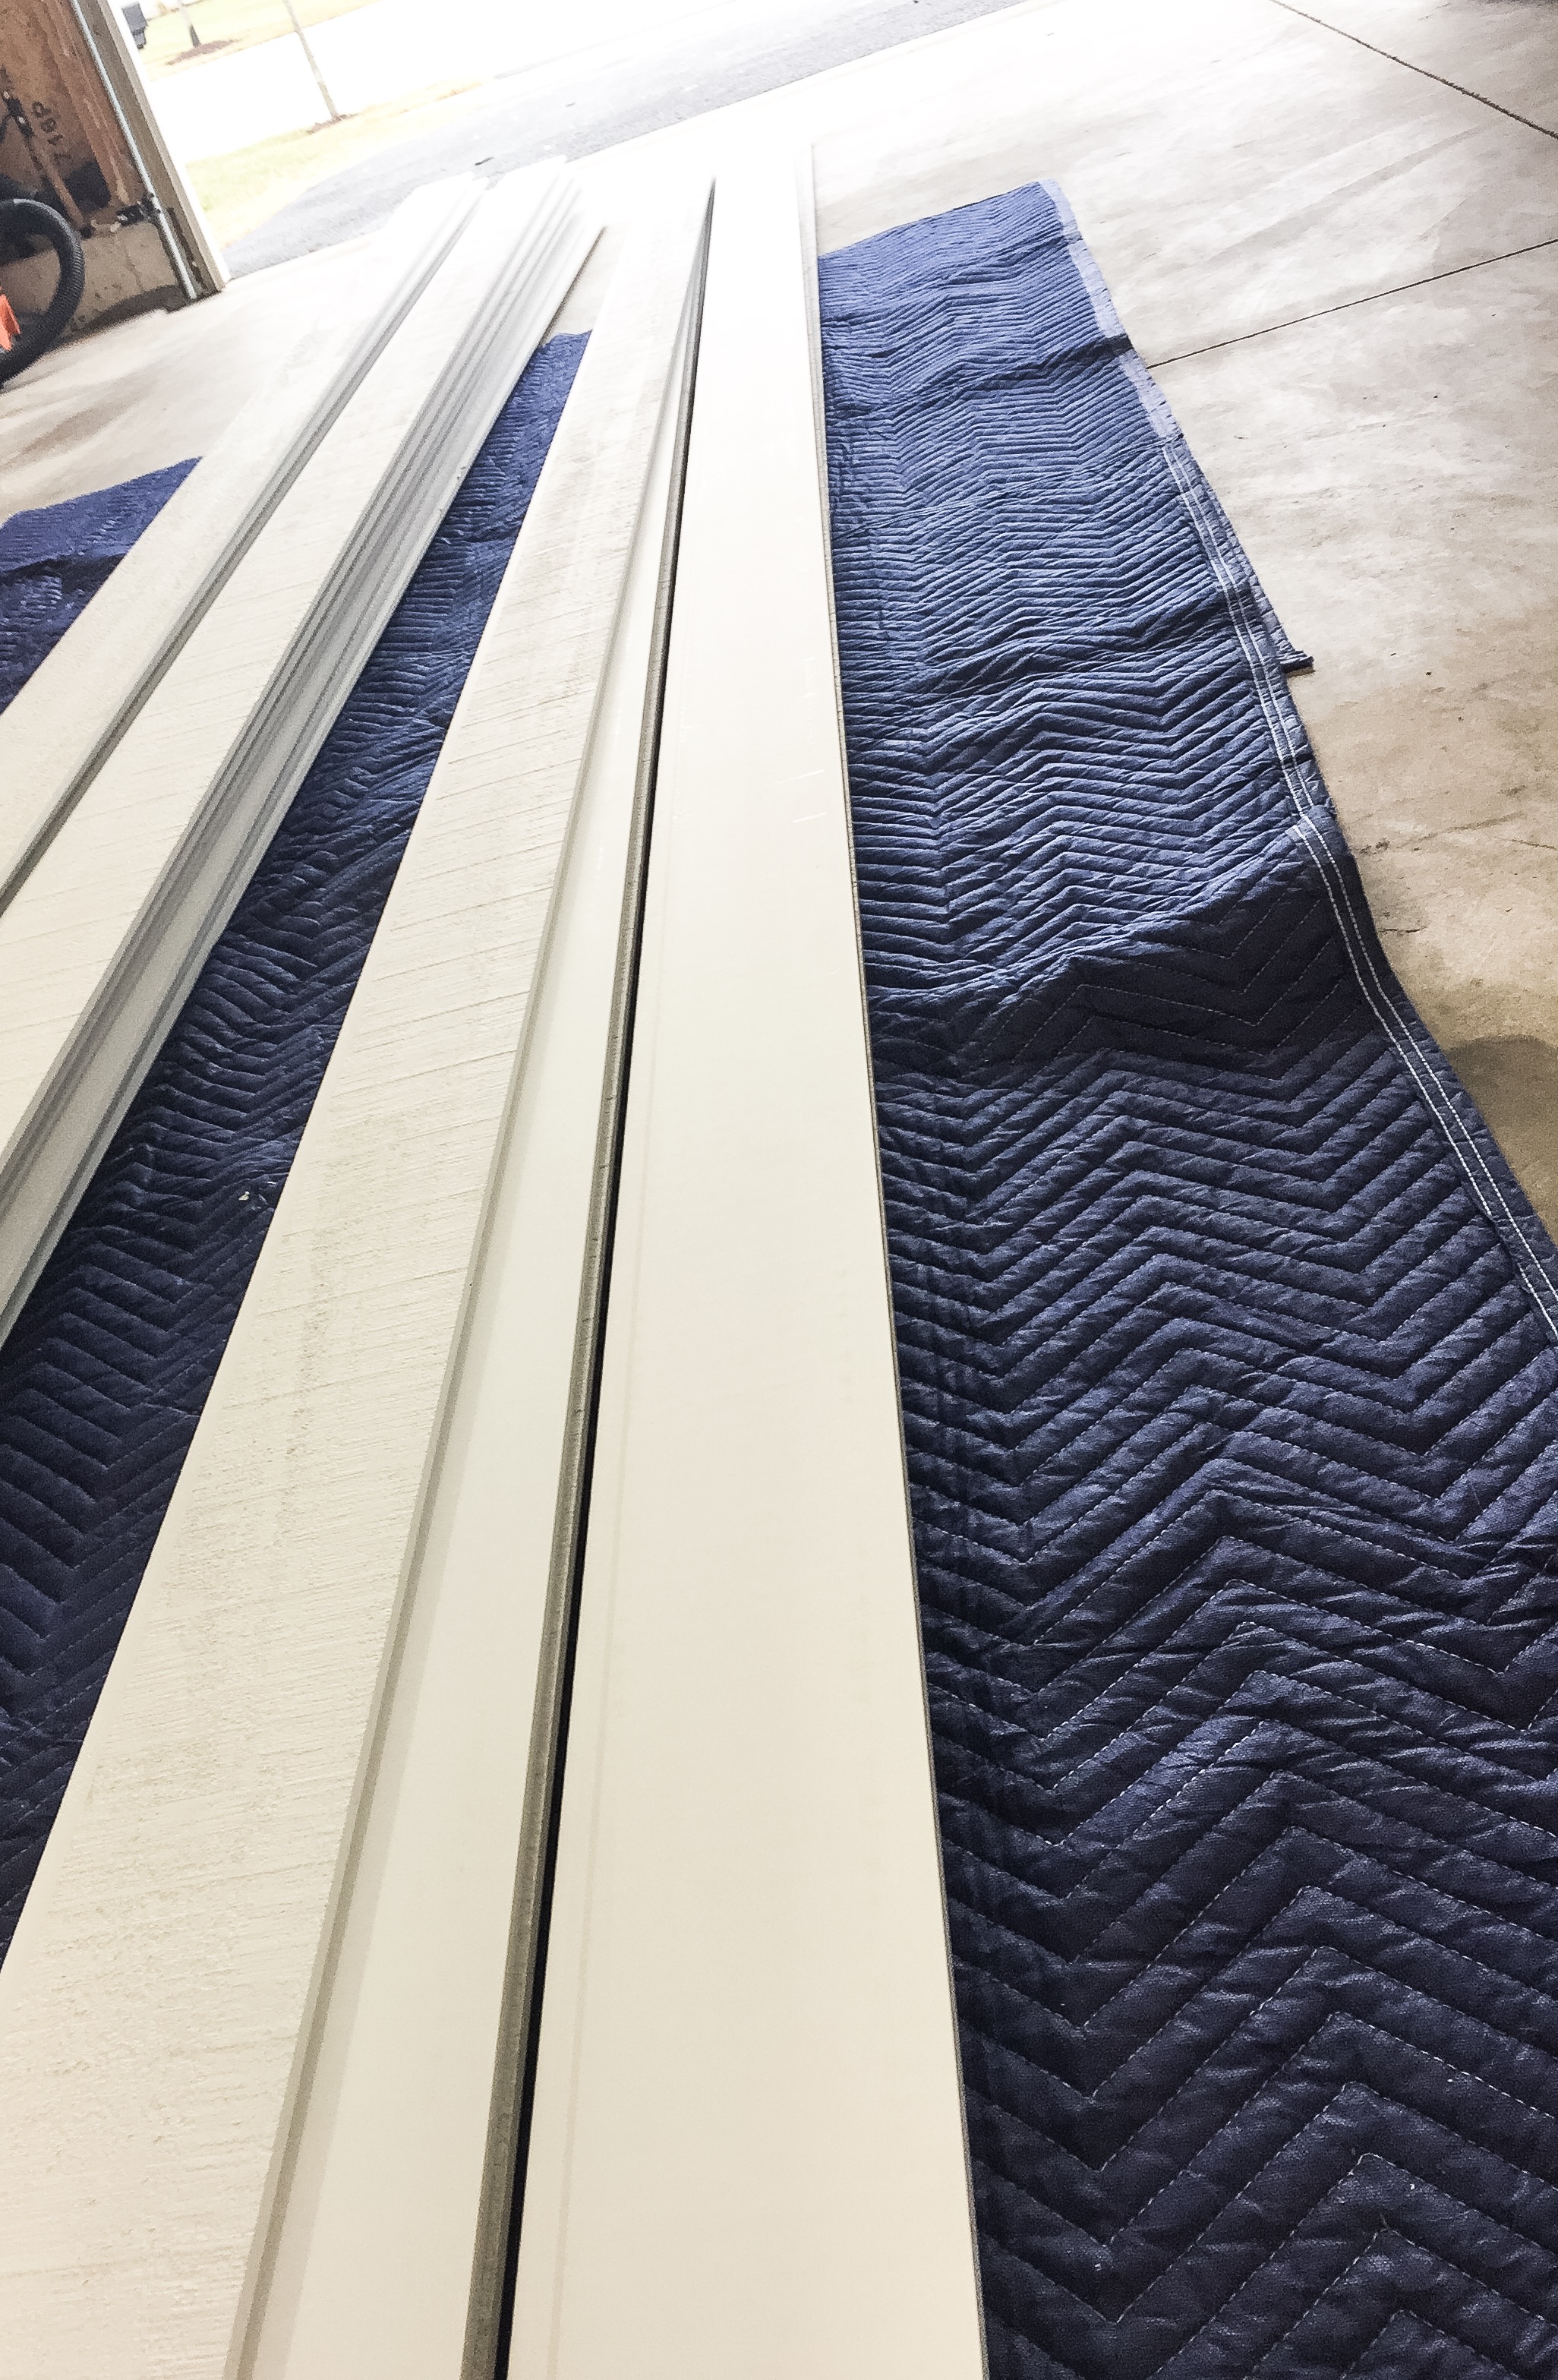
After hours of You Tube watching My husband decided he was going to spray these beautiful boards so no brush marks could be seen which means, if you give a mouse a cookie, he is going to need a very nice ‘Airless Paint Sprayer” Home Depot has these to the tune of $400. and I just could not justify this expense for something we were not going to be using more than a few times. So Harbor Freight has them for $59.00 I am sure the quality is different but it was going to have to work. You will also need an Air compressor and a liquid called Floetrol which eliminates brush or any marks and also helps with the flow of the paint when spraying.
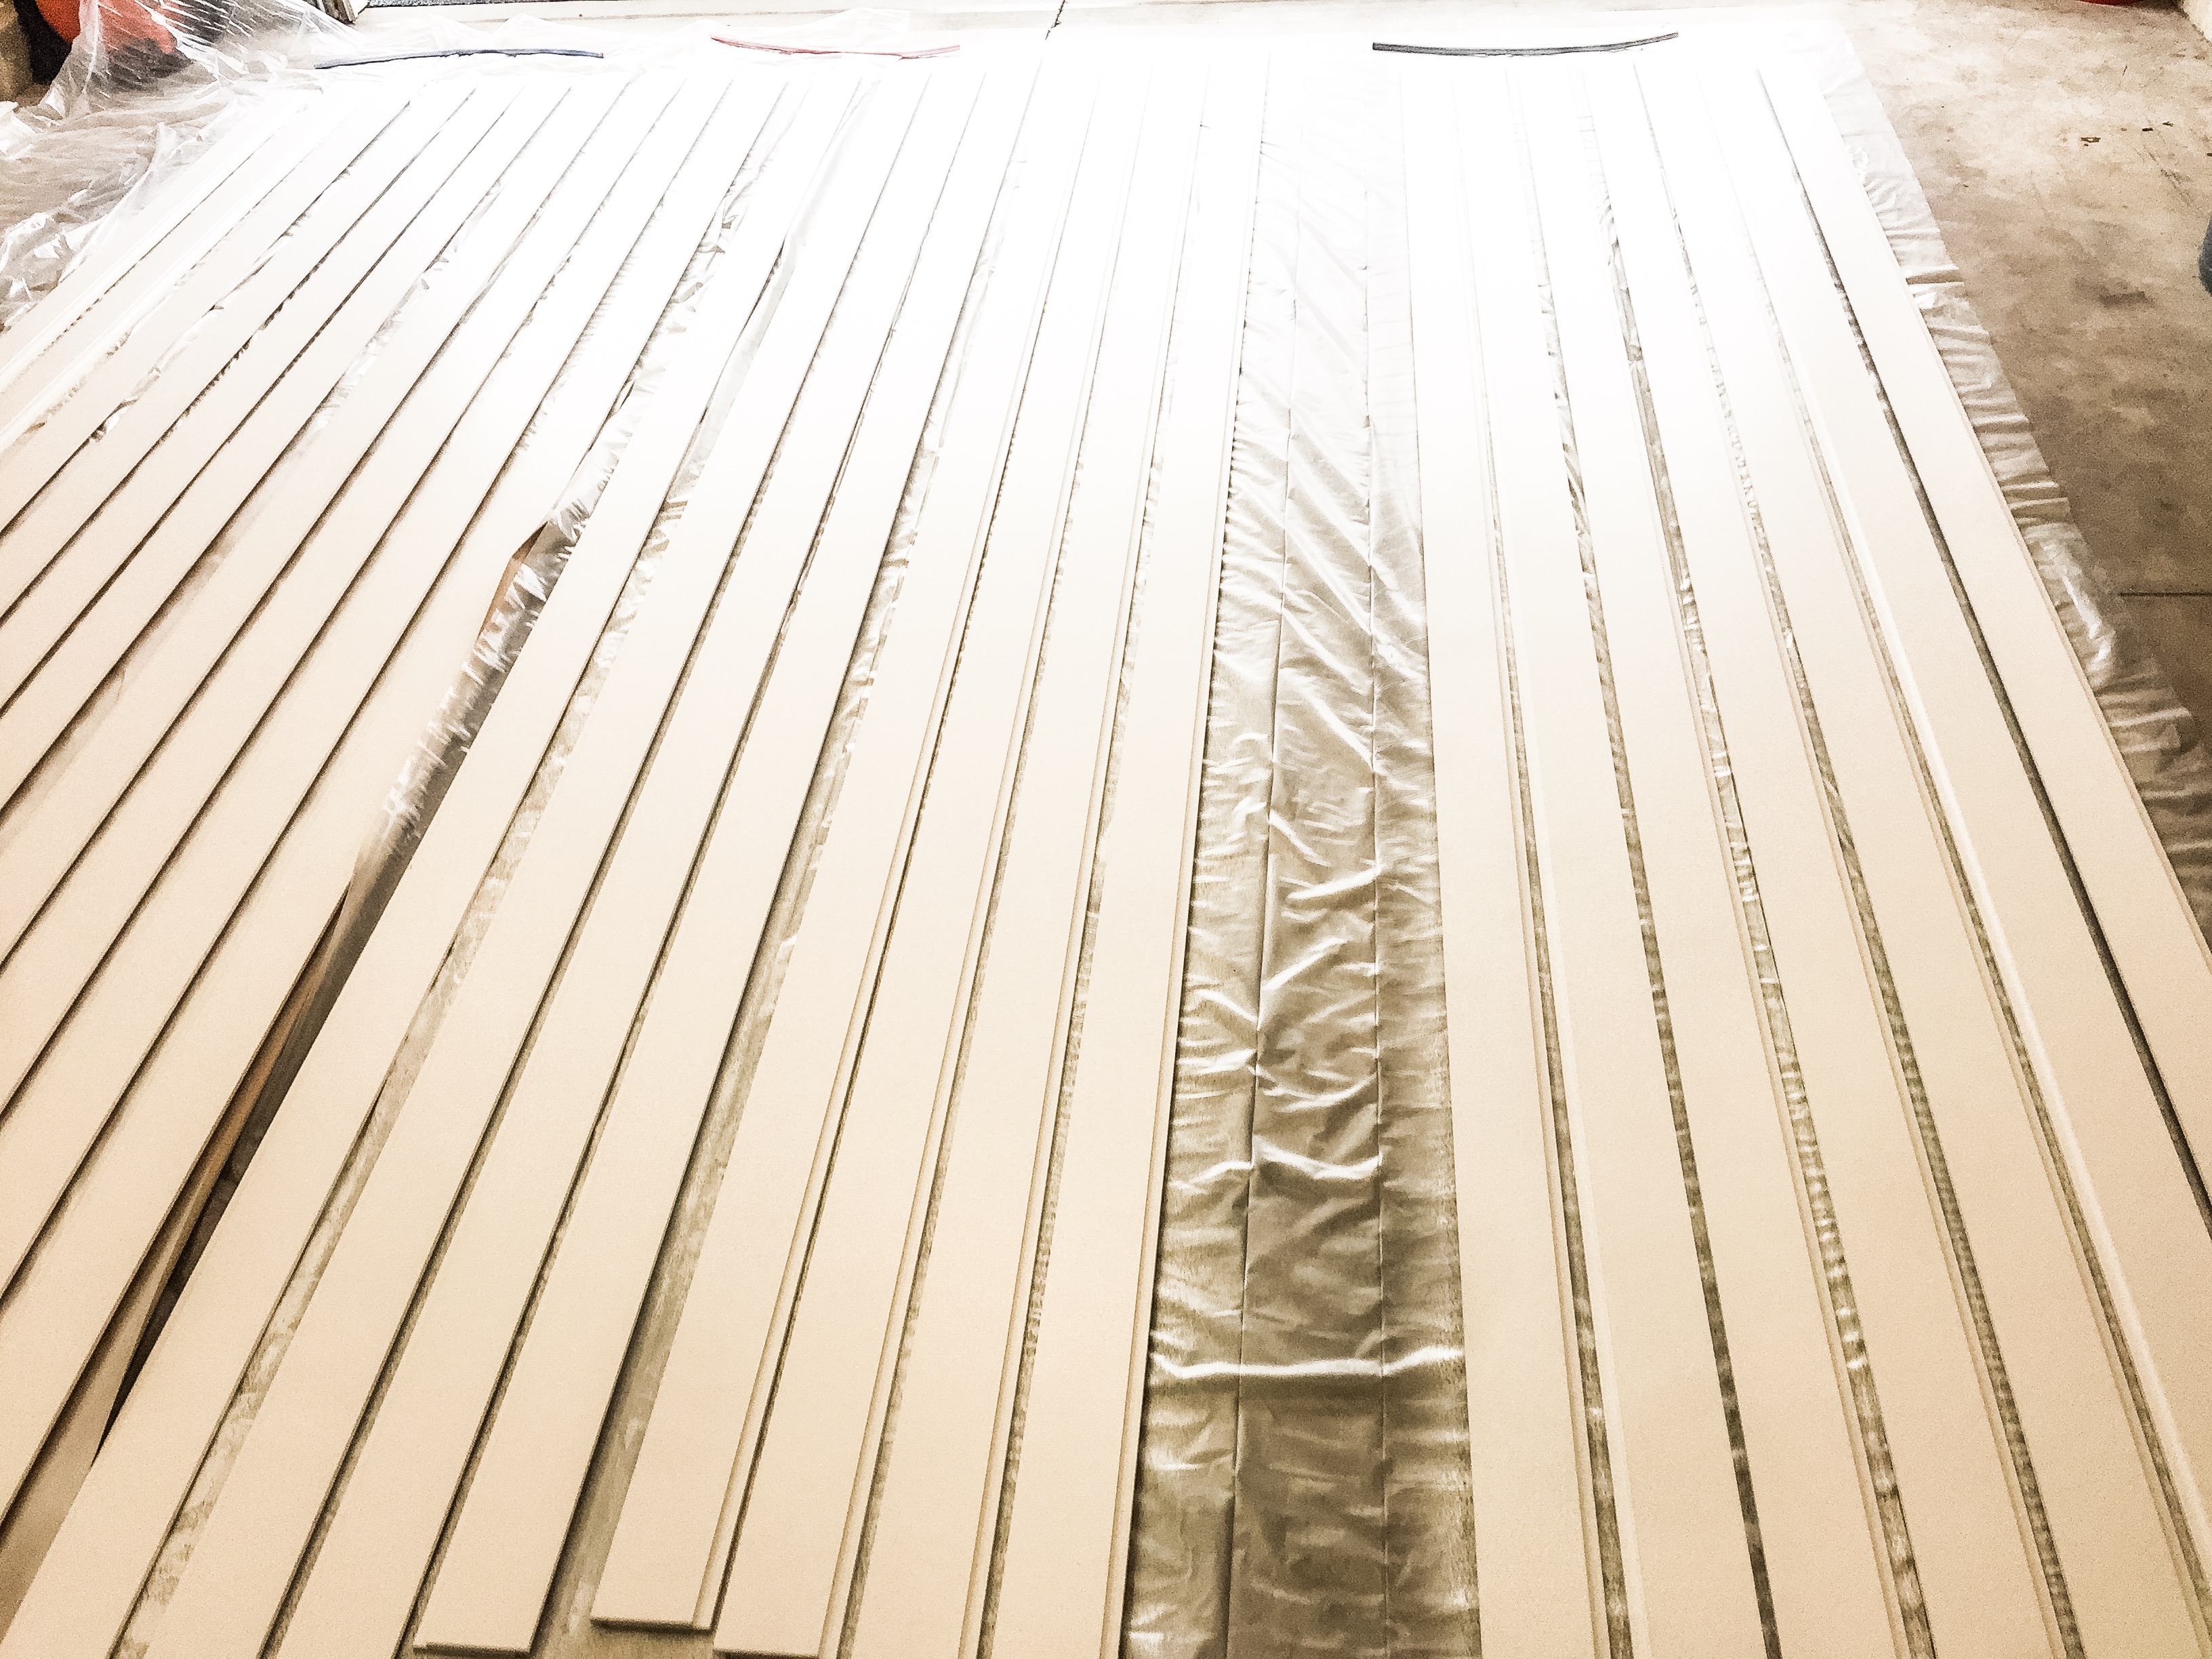
Here is the after of the sprayed boards drying!
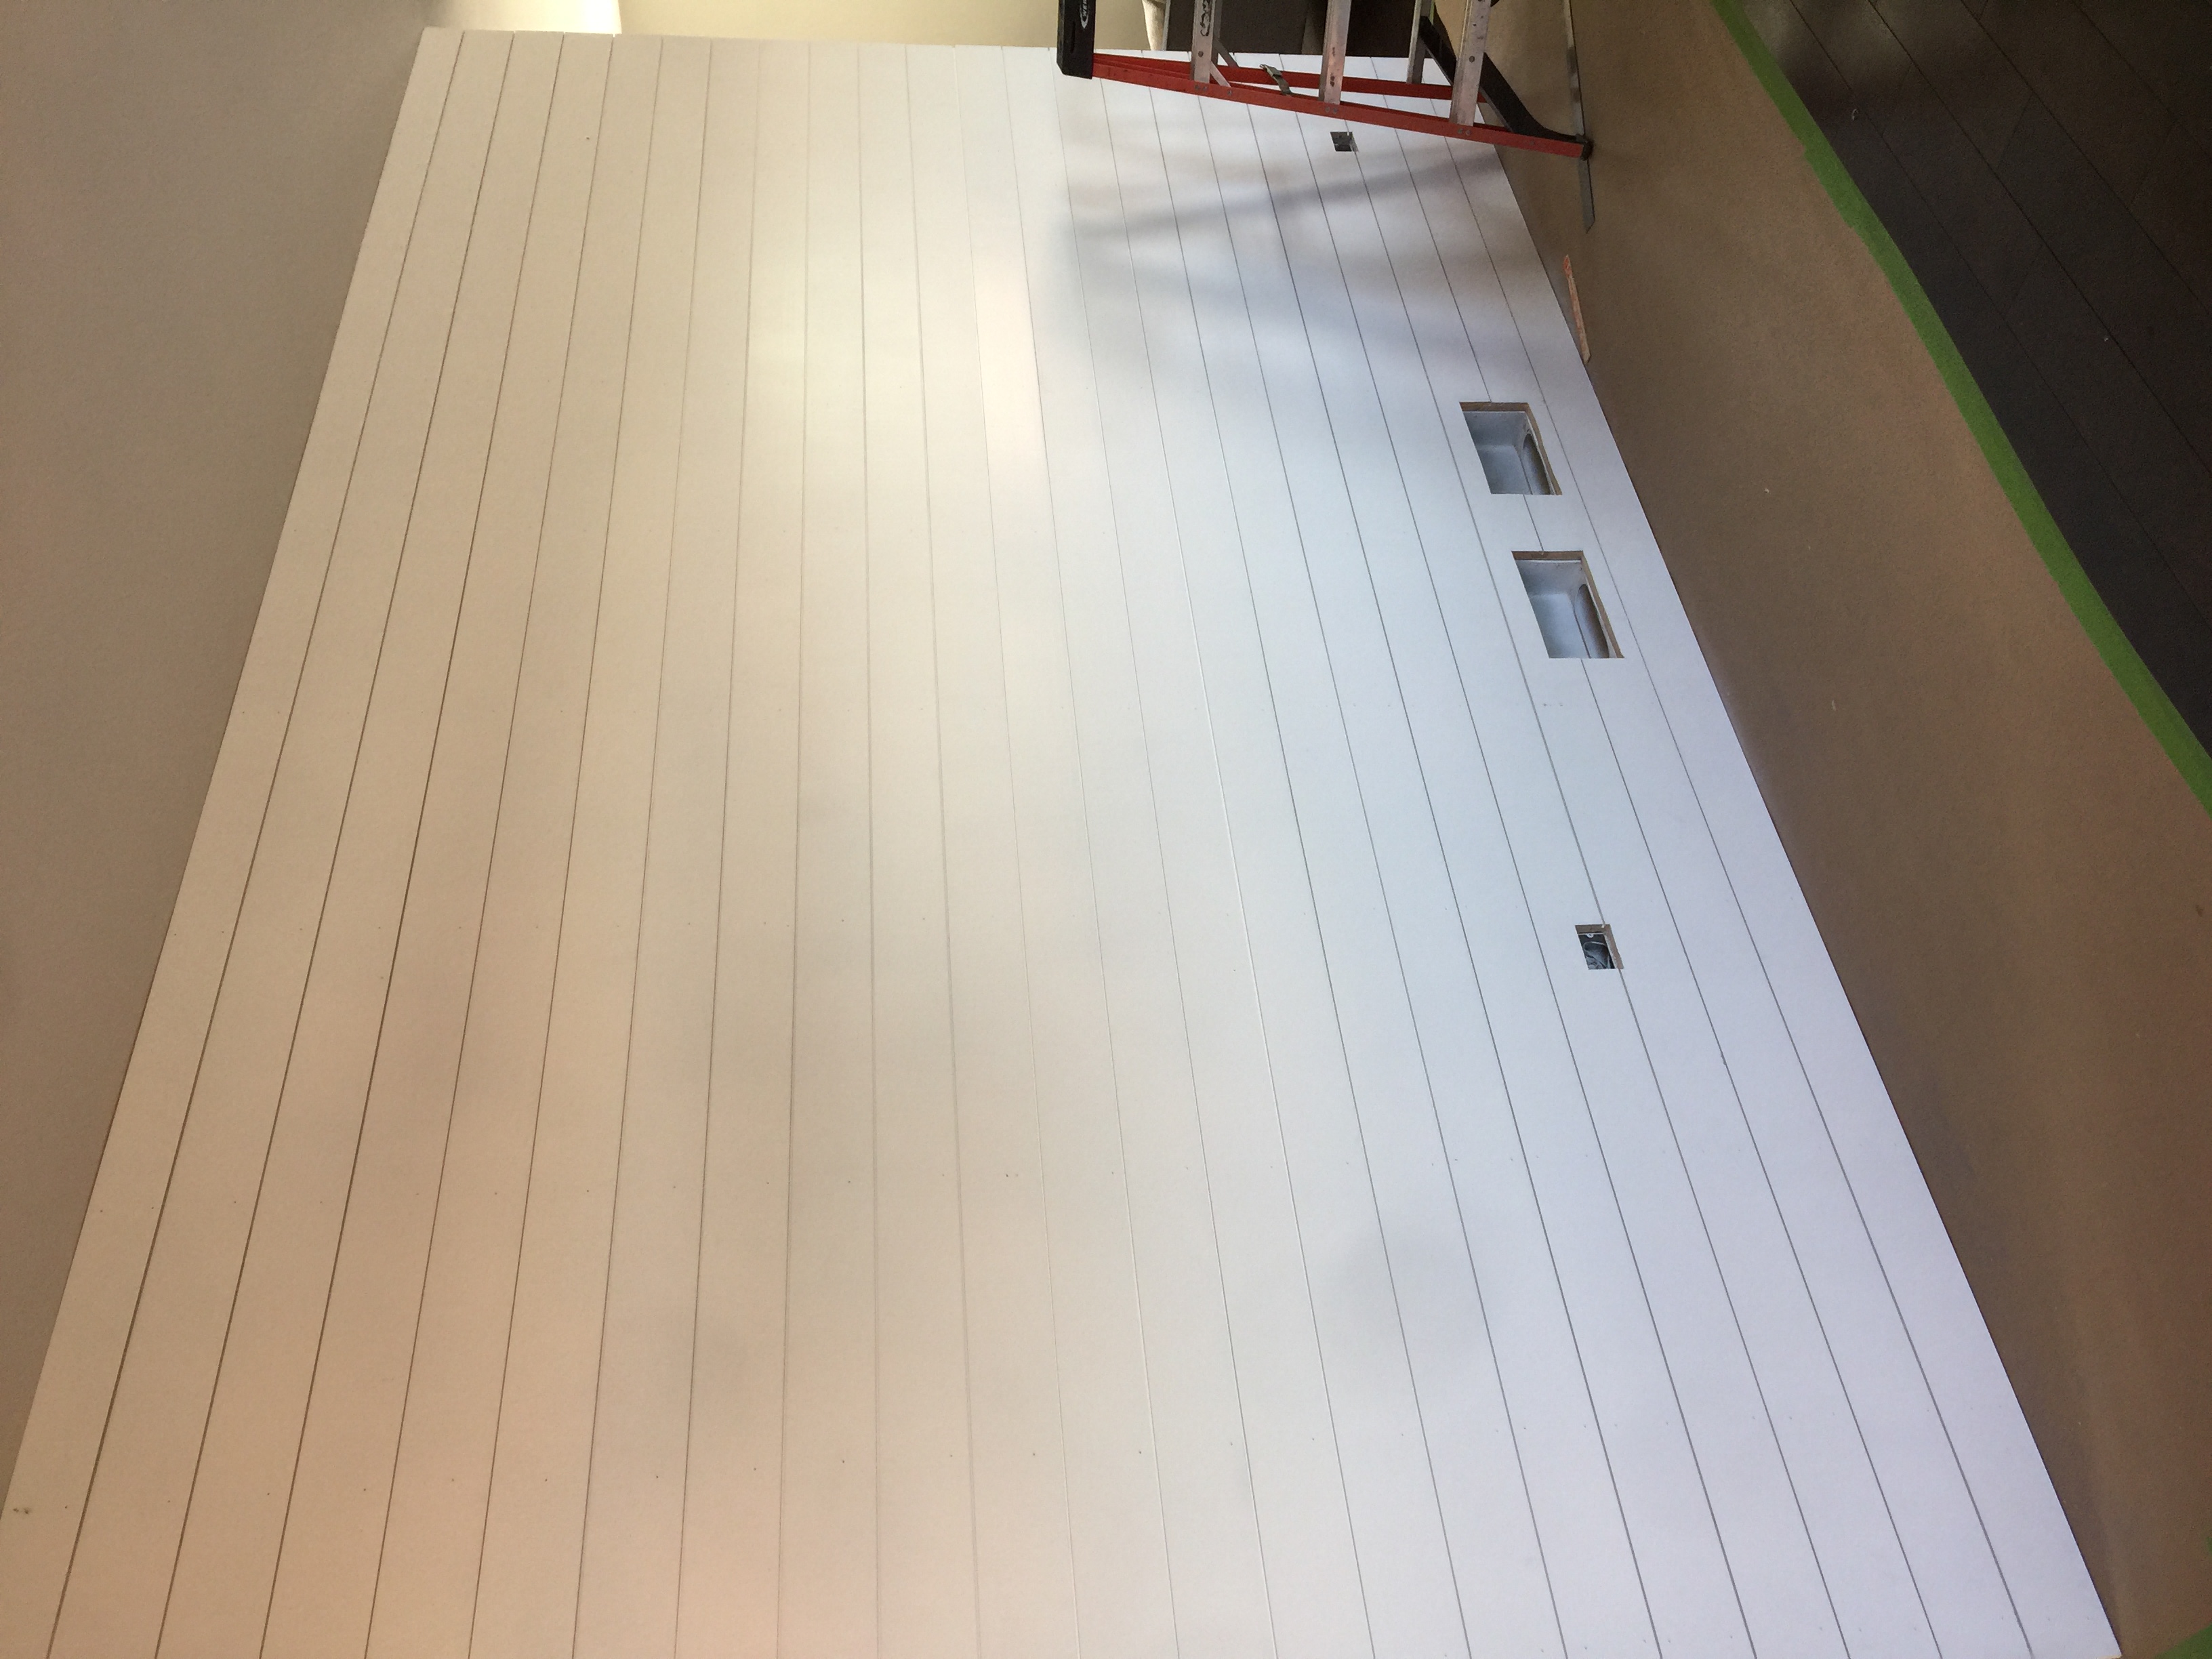
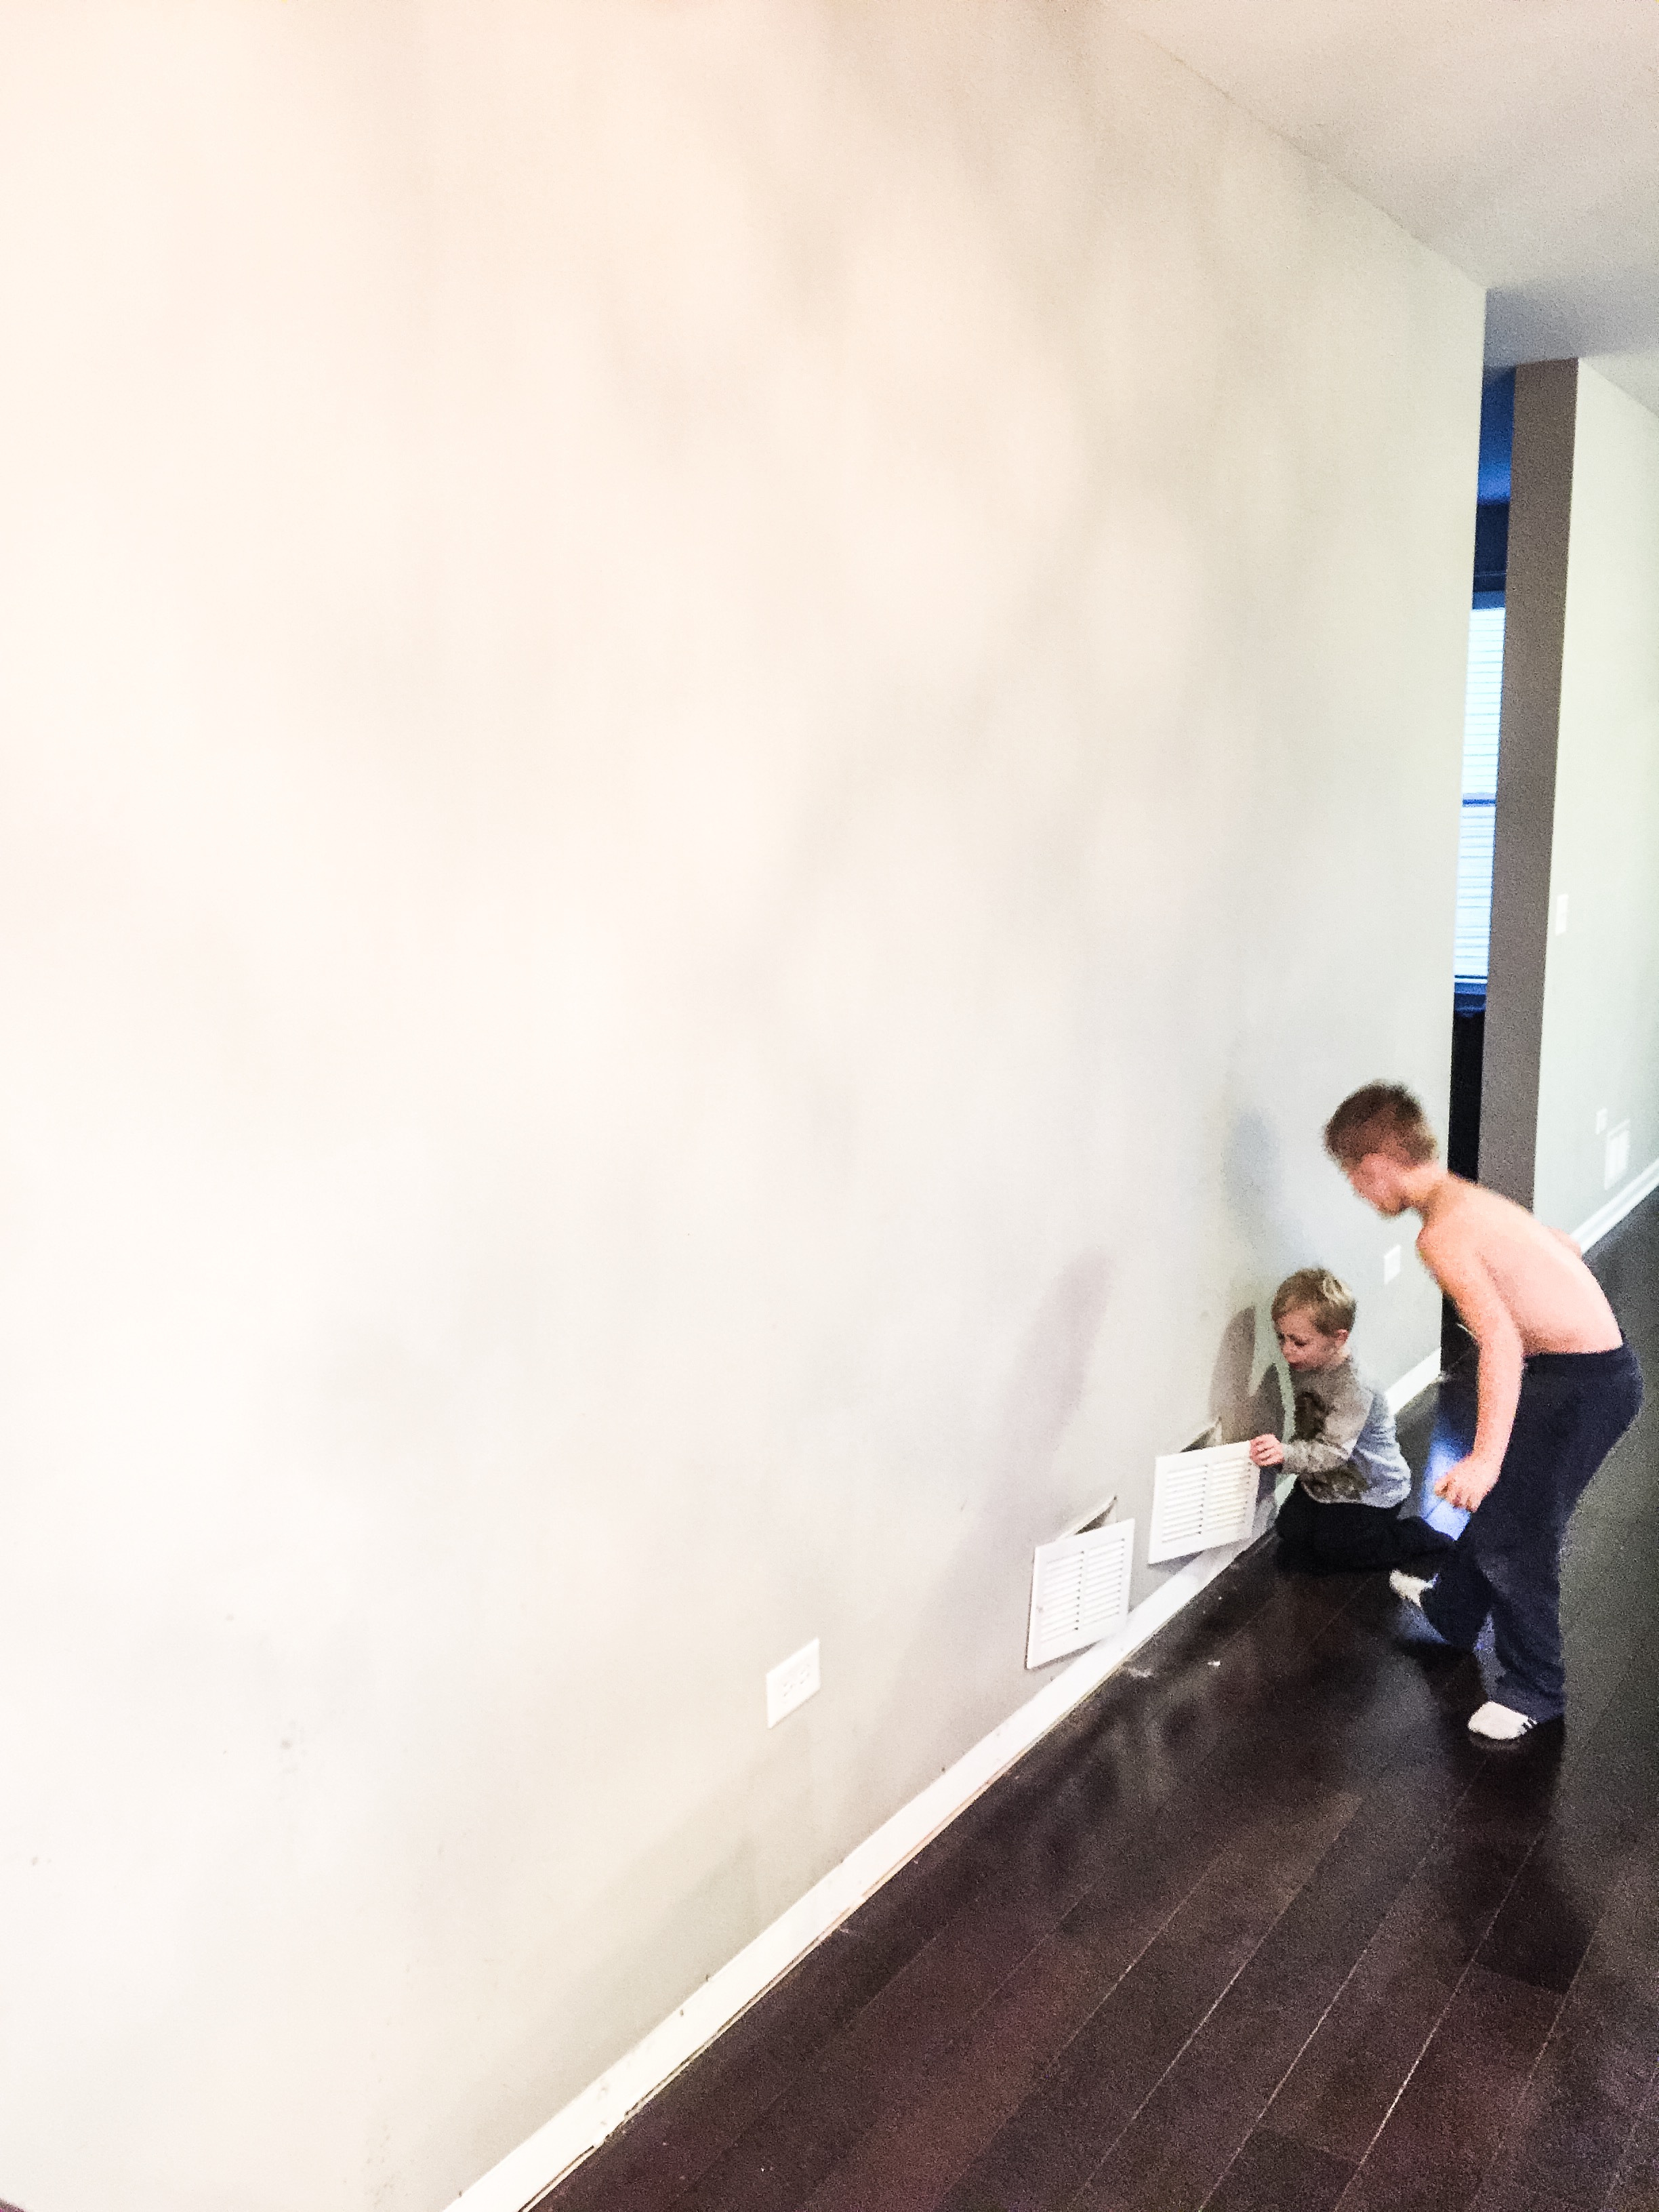
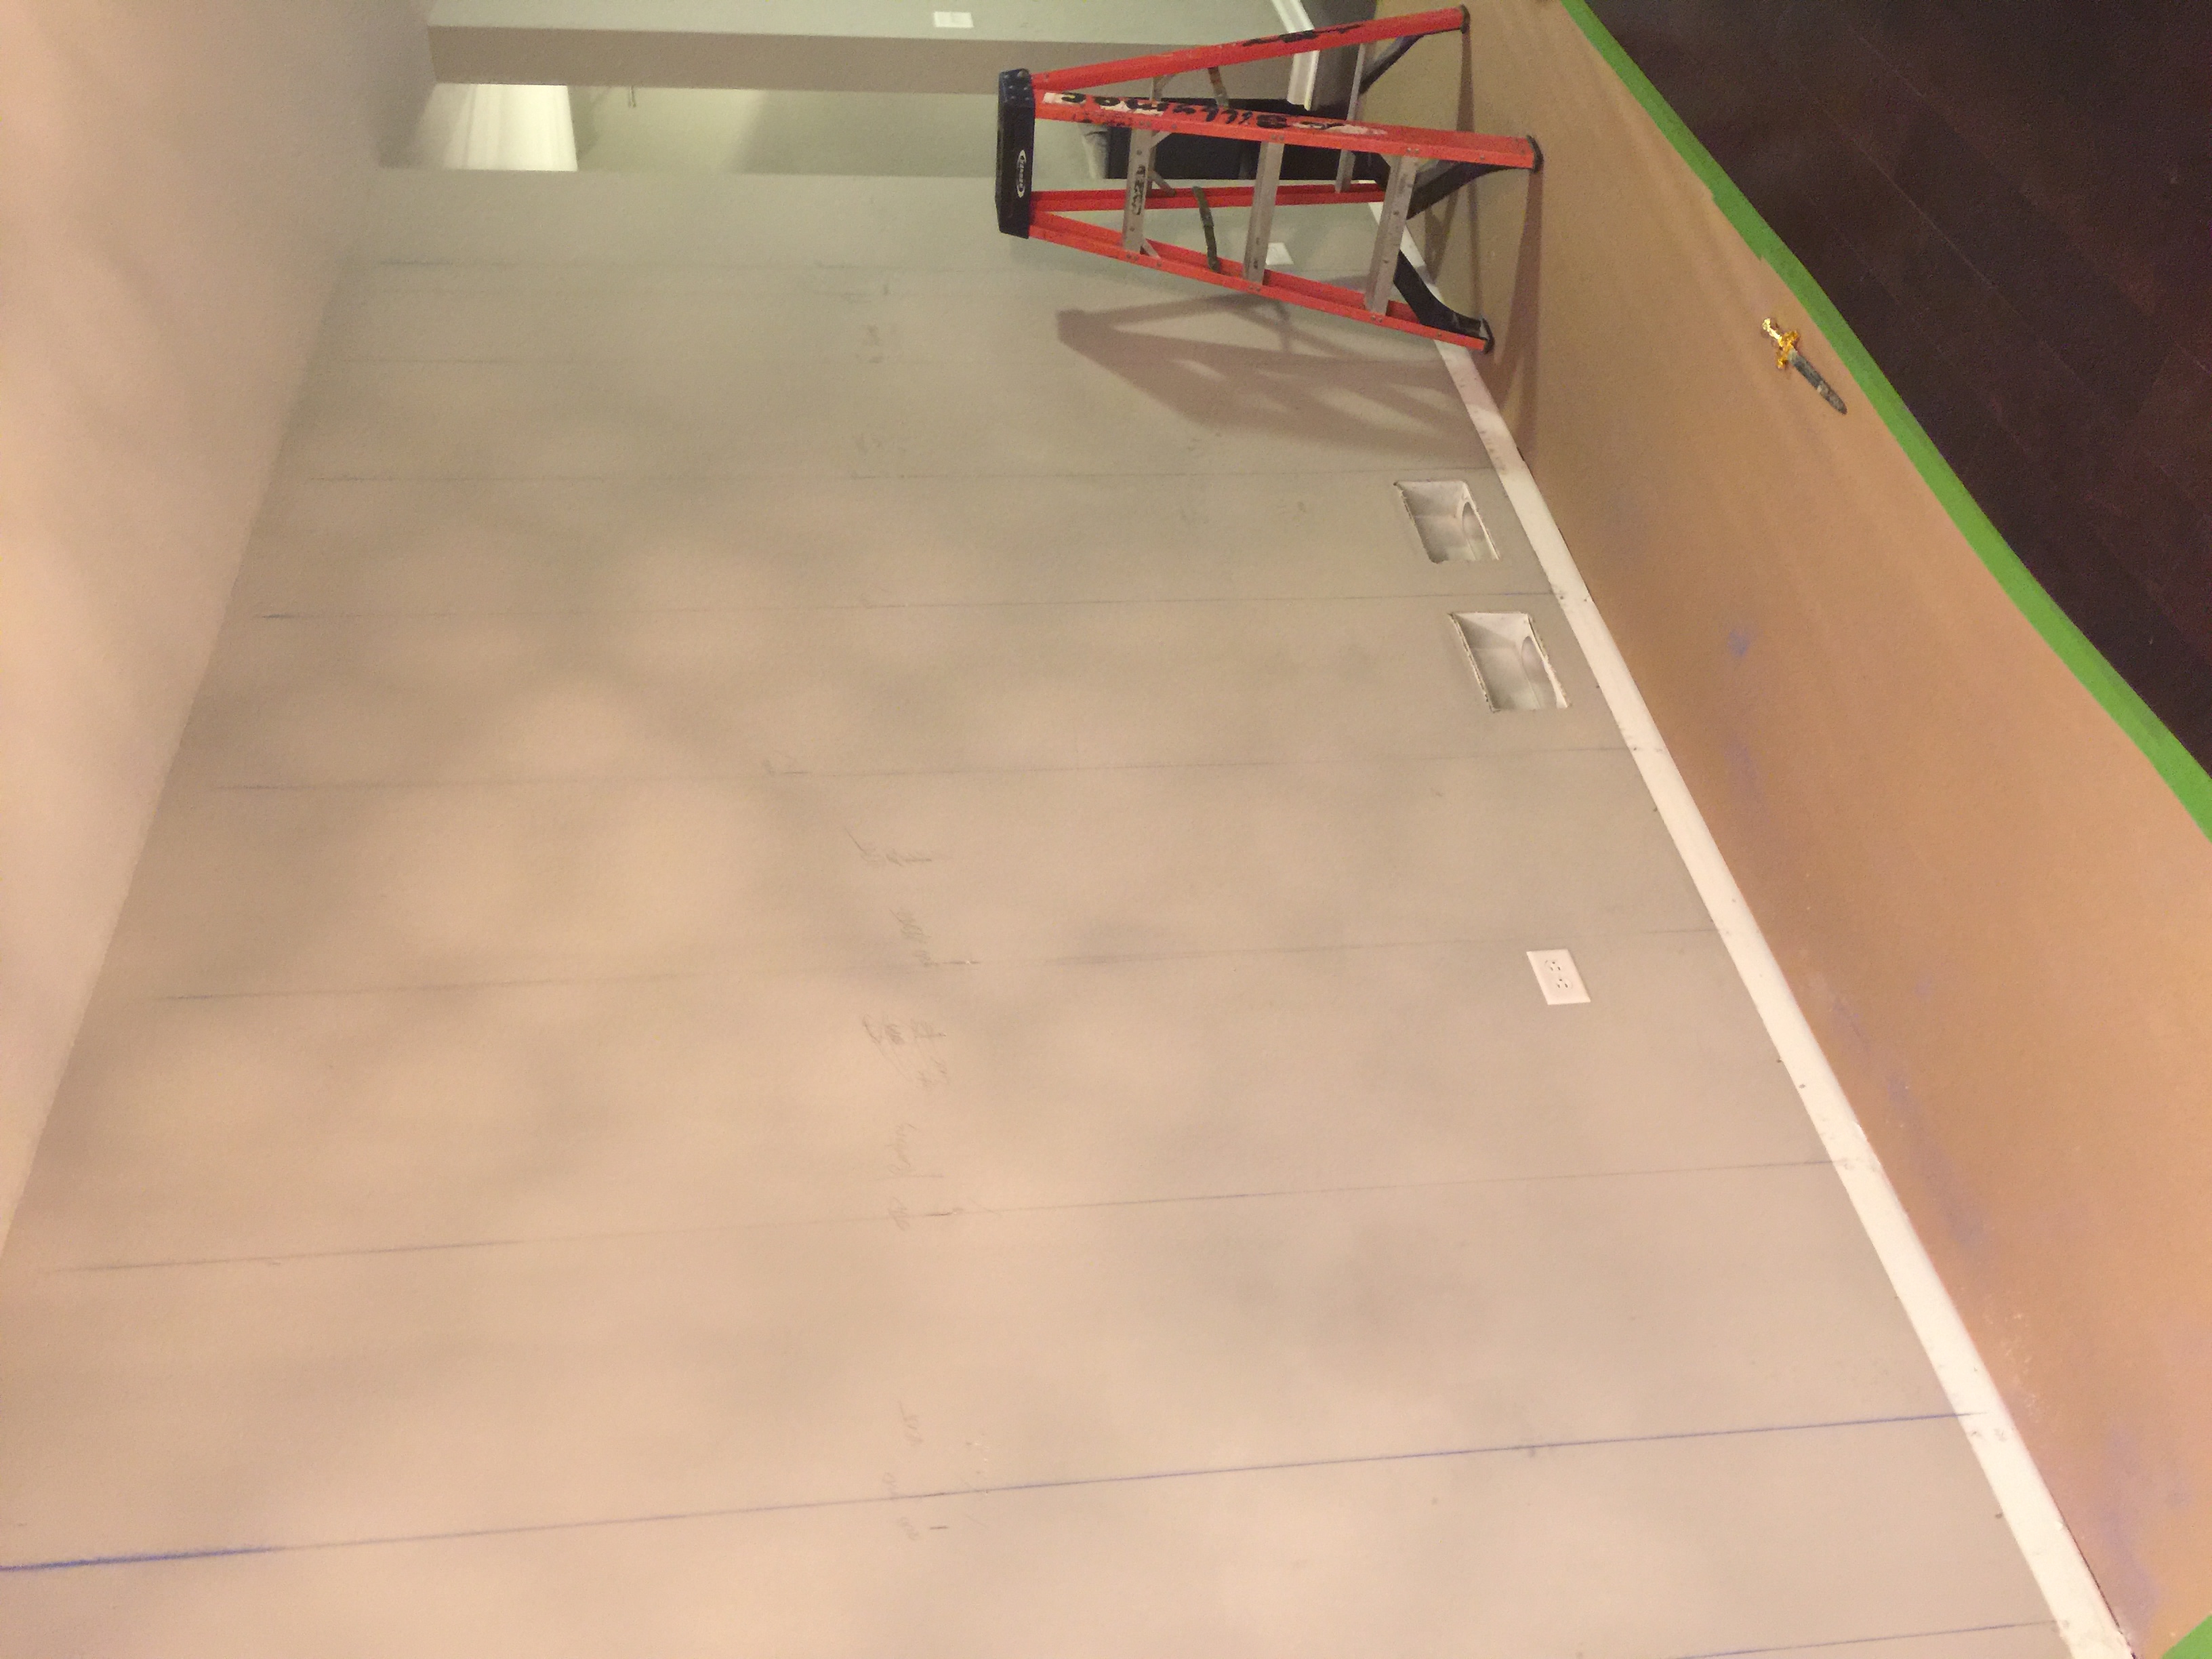
The evening before we were going to install we prepped the wall by removing the trim, marking out the studs with a chalk line and marking where vents and drains were located in the wall. We had some great helpers!
 if you have dark floors you know the struggle, padding was added to help preserve the floor. Thankfully it did a wonderful job!
The install day had arrived and I could hardly contain my excitement! However what I thought was going to be an easy day of directing turned into an equal partnership because we soon realized 1 person can not hold, lift and nail these boards onto the wall (wishful thinking). If you do not have children this may go quicker and easier but took us about 8 hours due to continuous stopping for various things, someones hungry, someone took my toy, someone hit me. Also keeping boys off ladders and away from power tools was a daunting task.
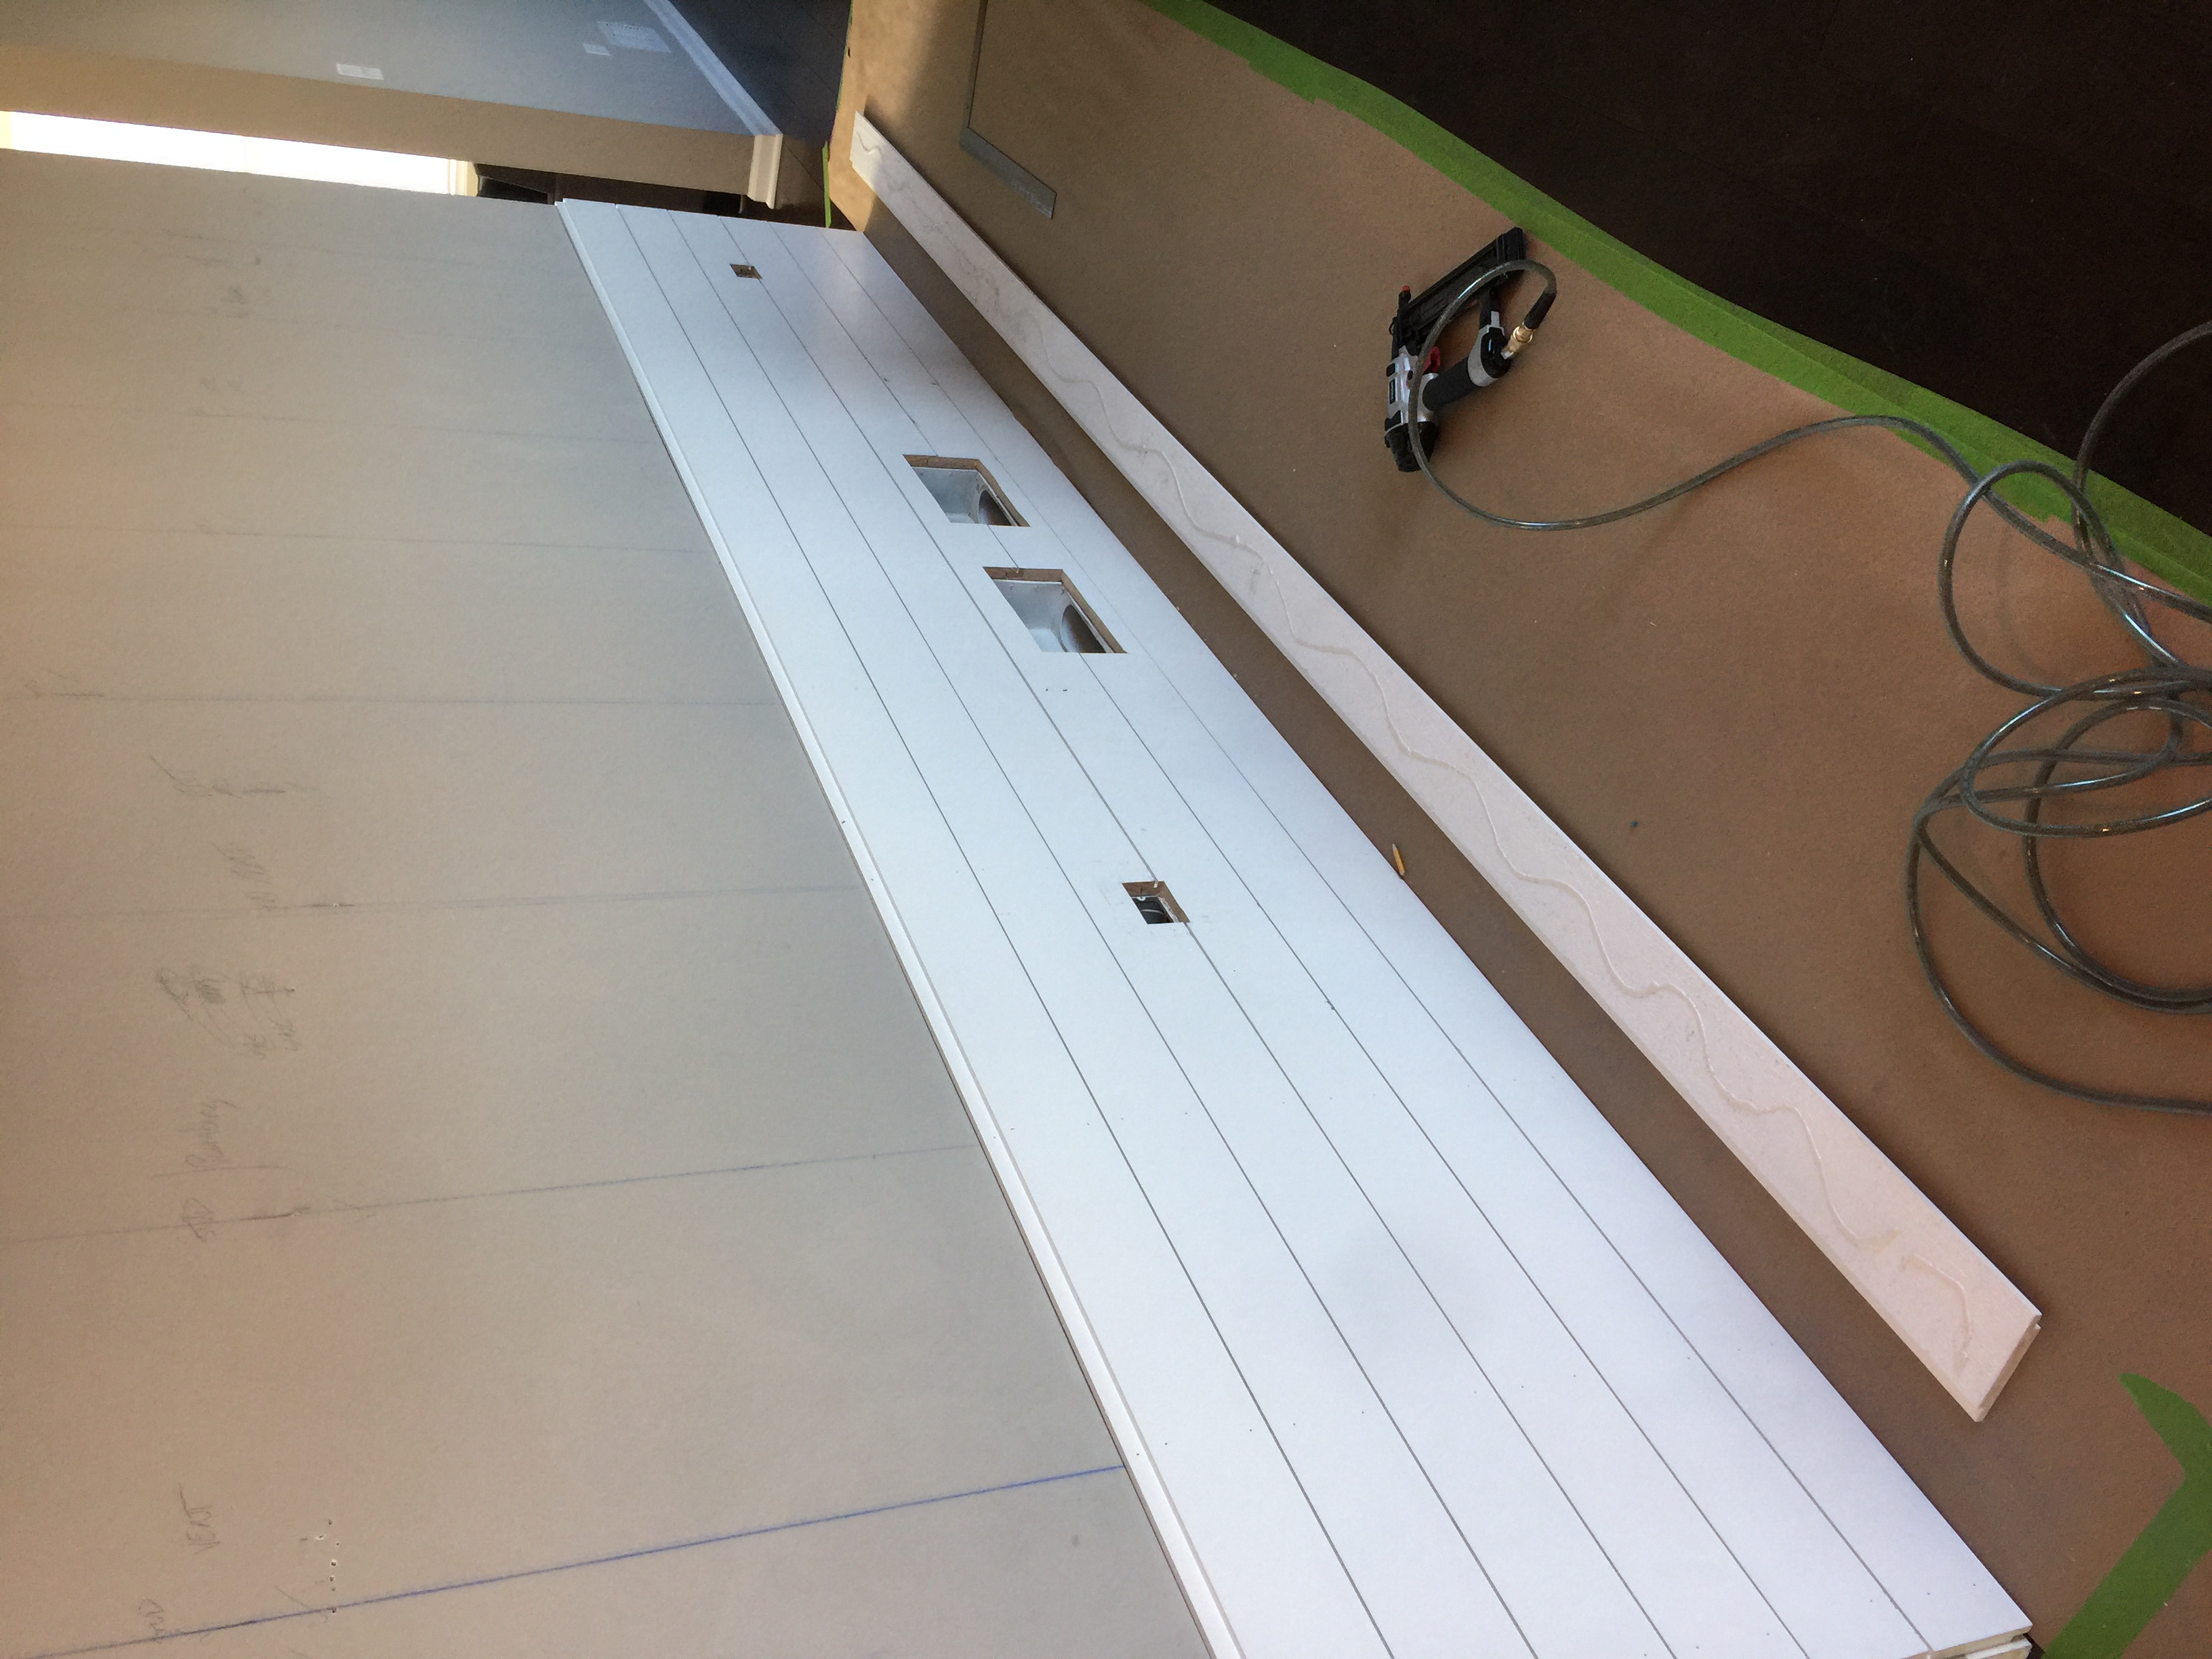
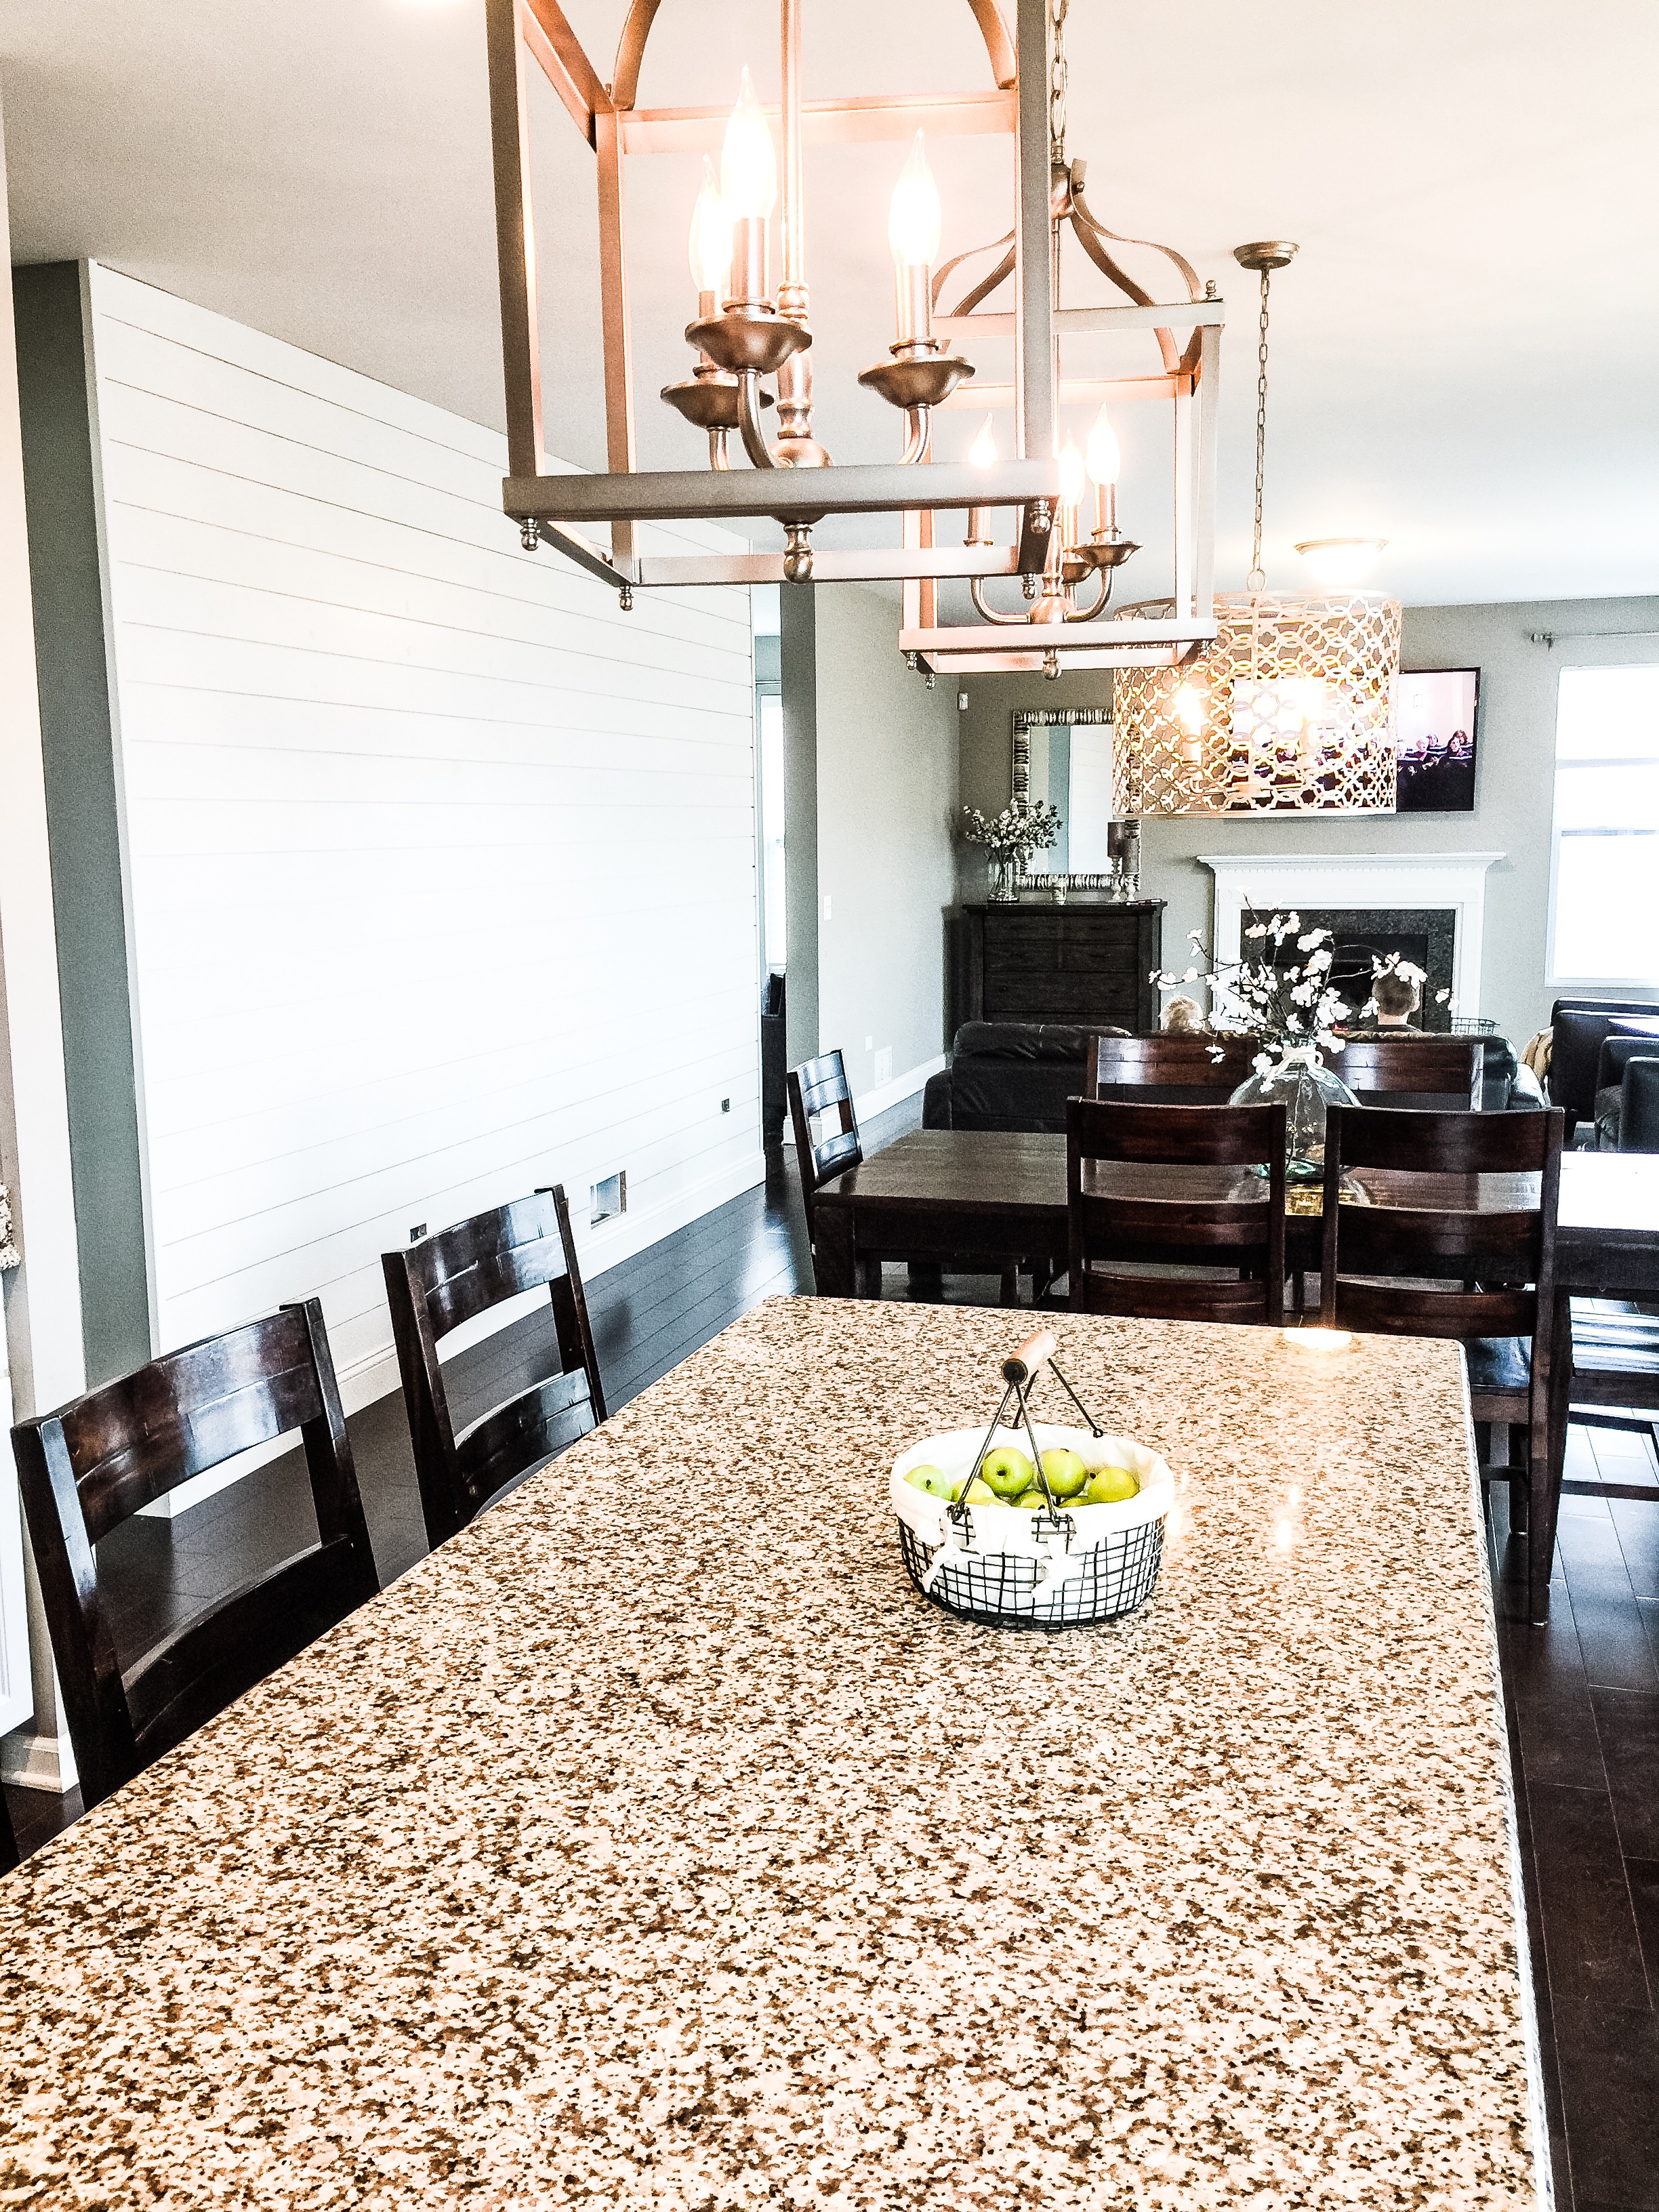
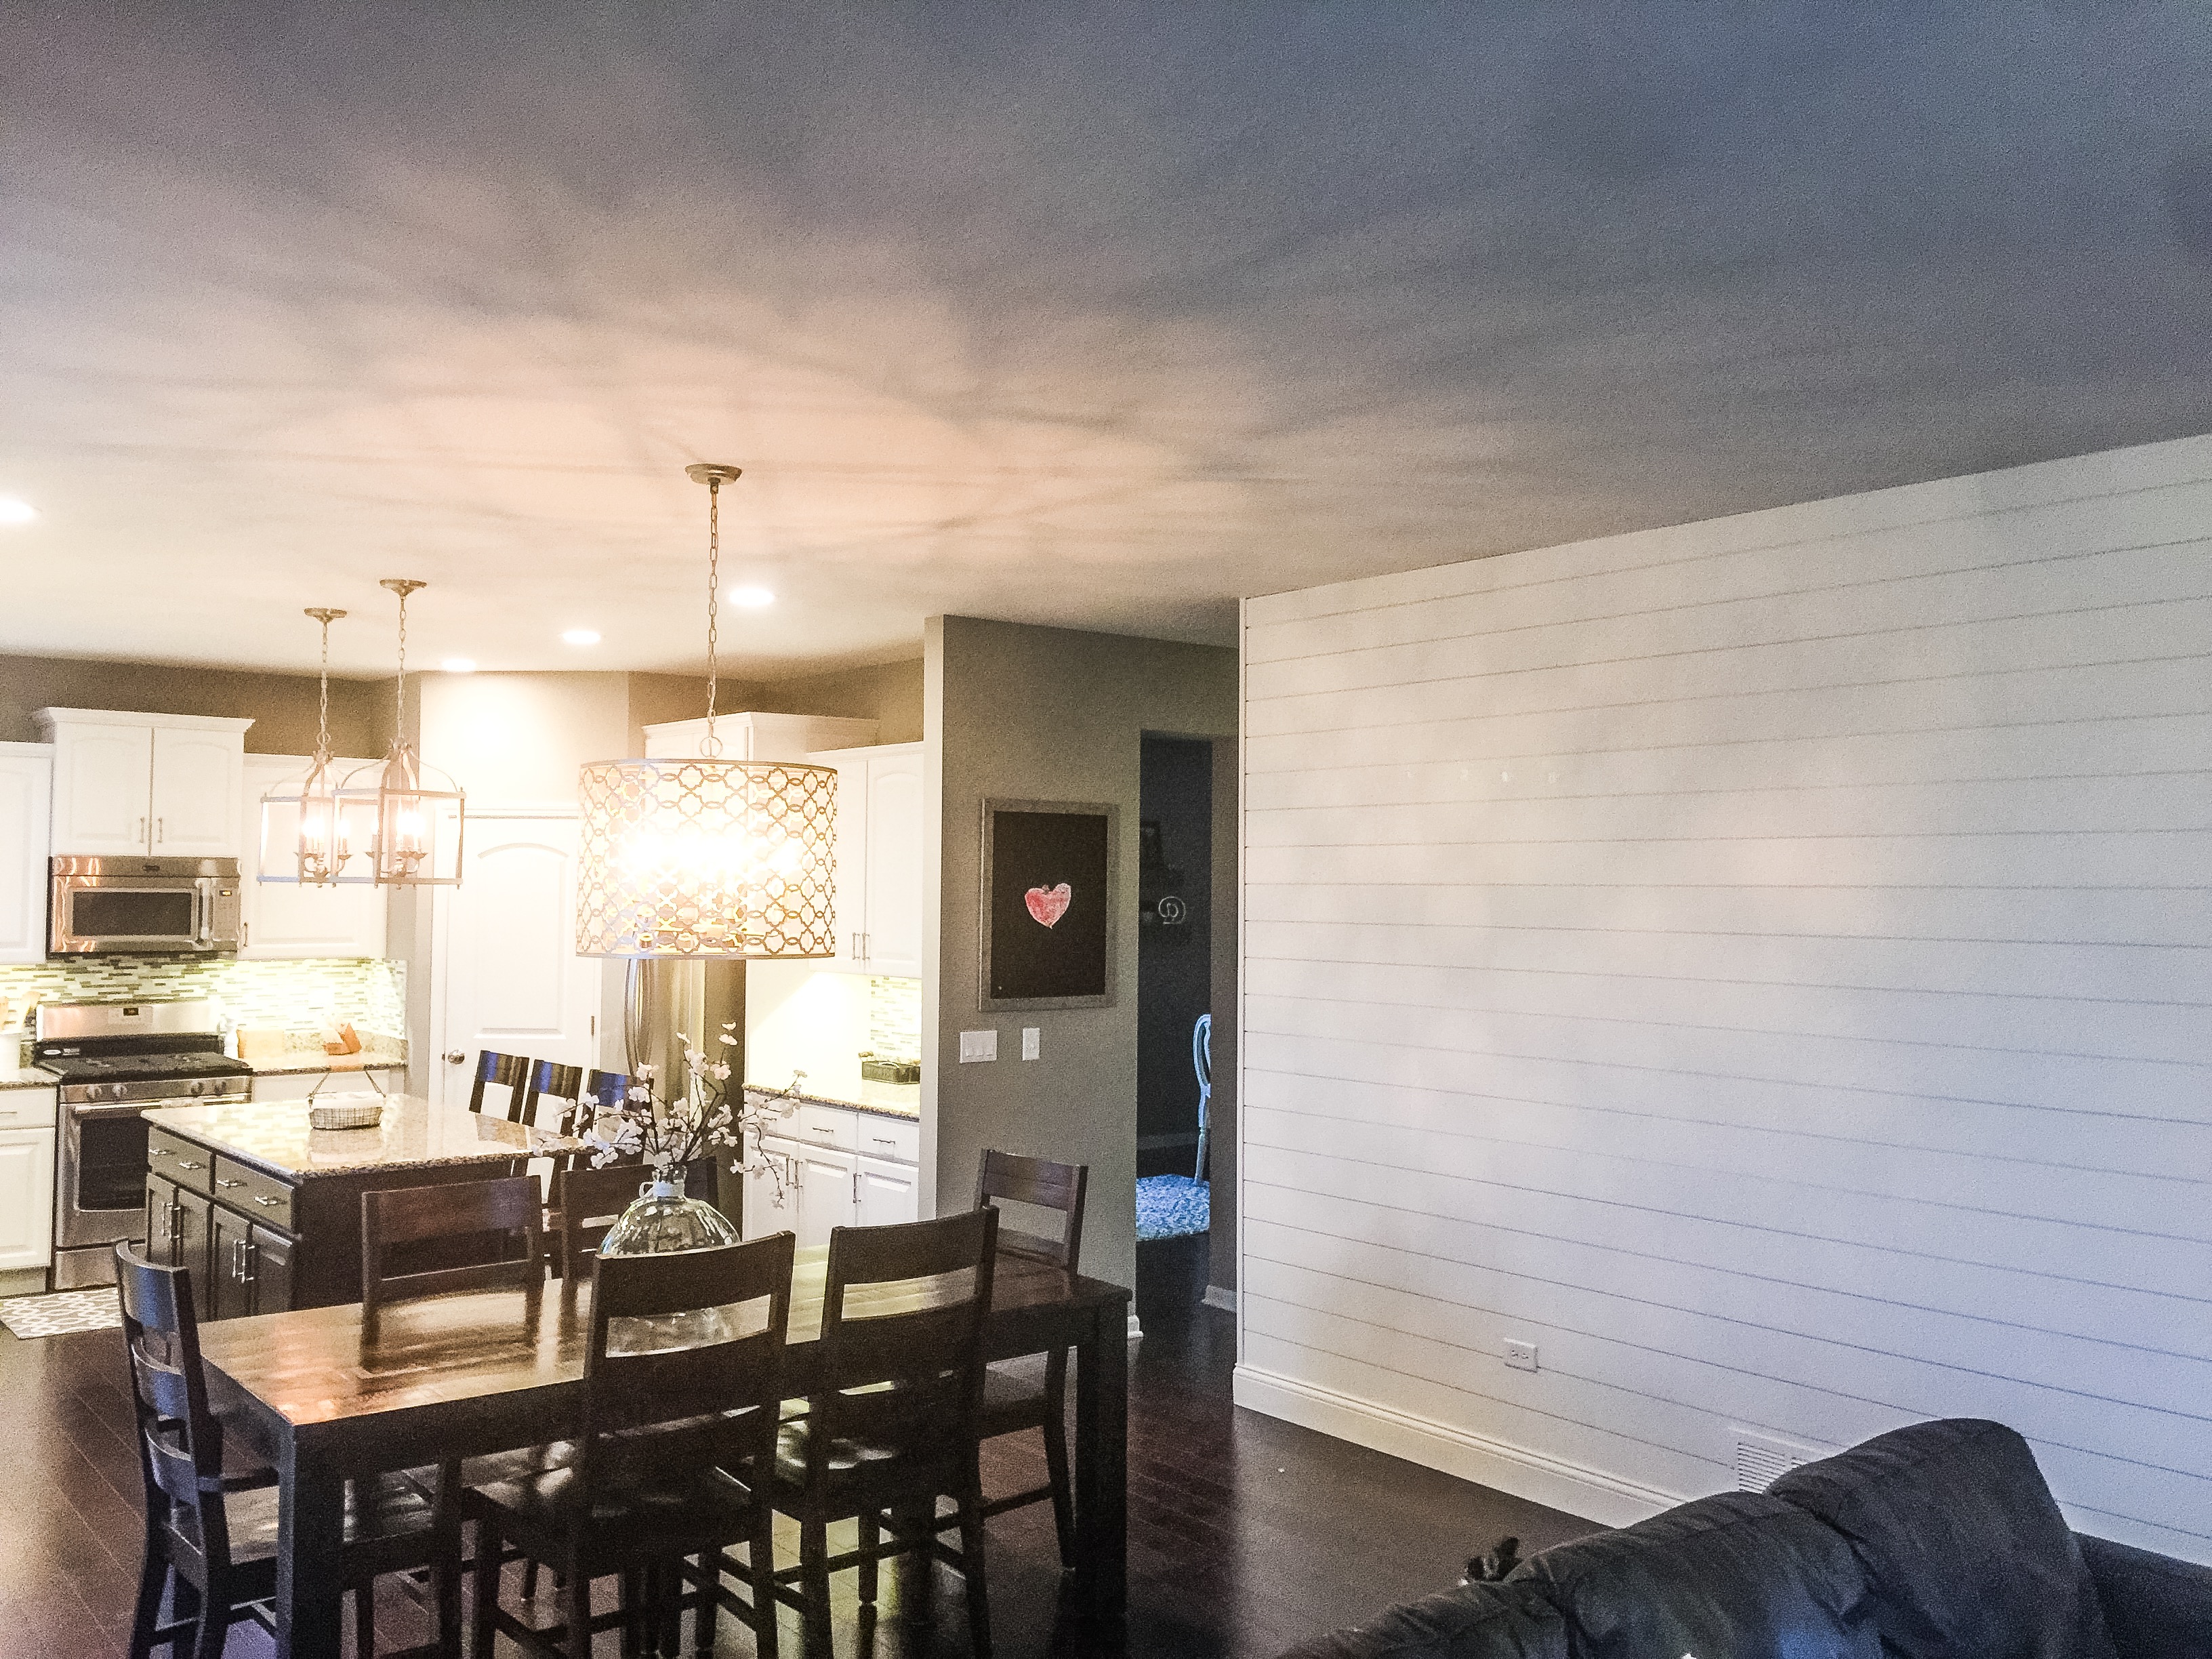
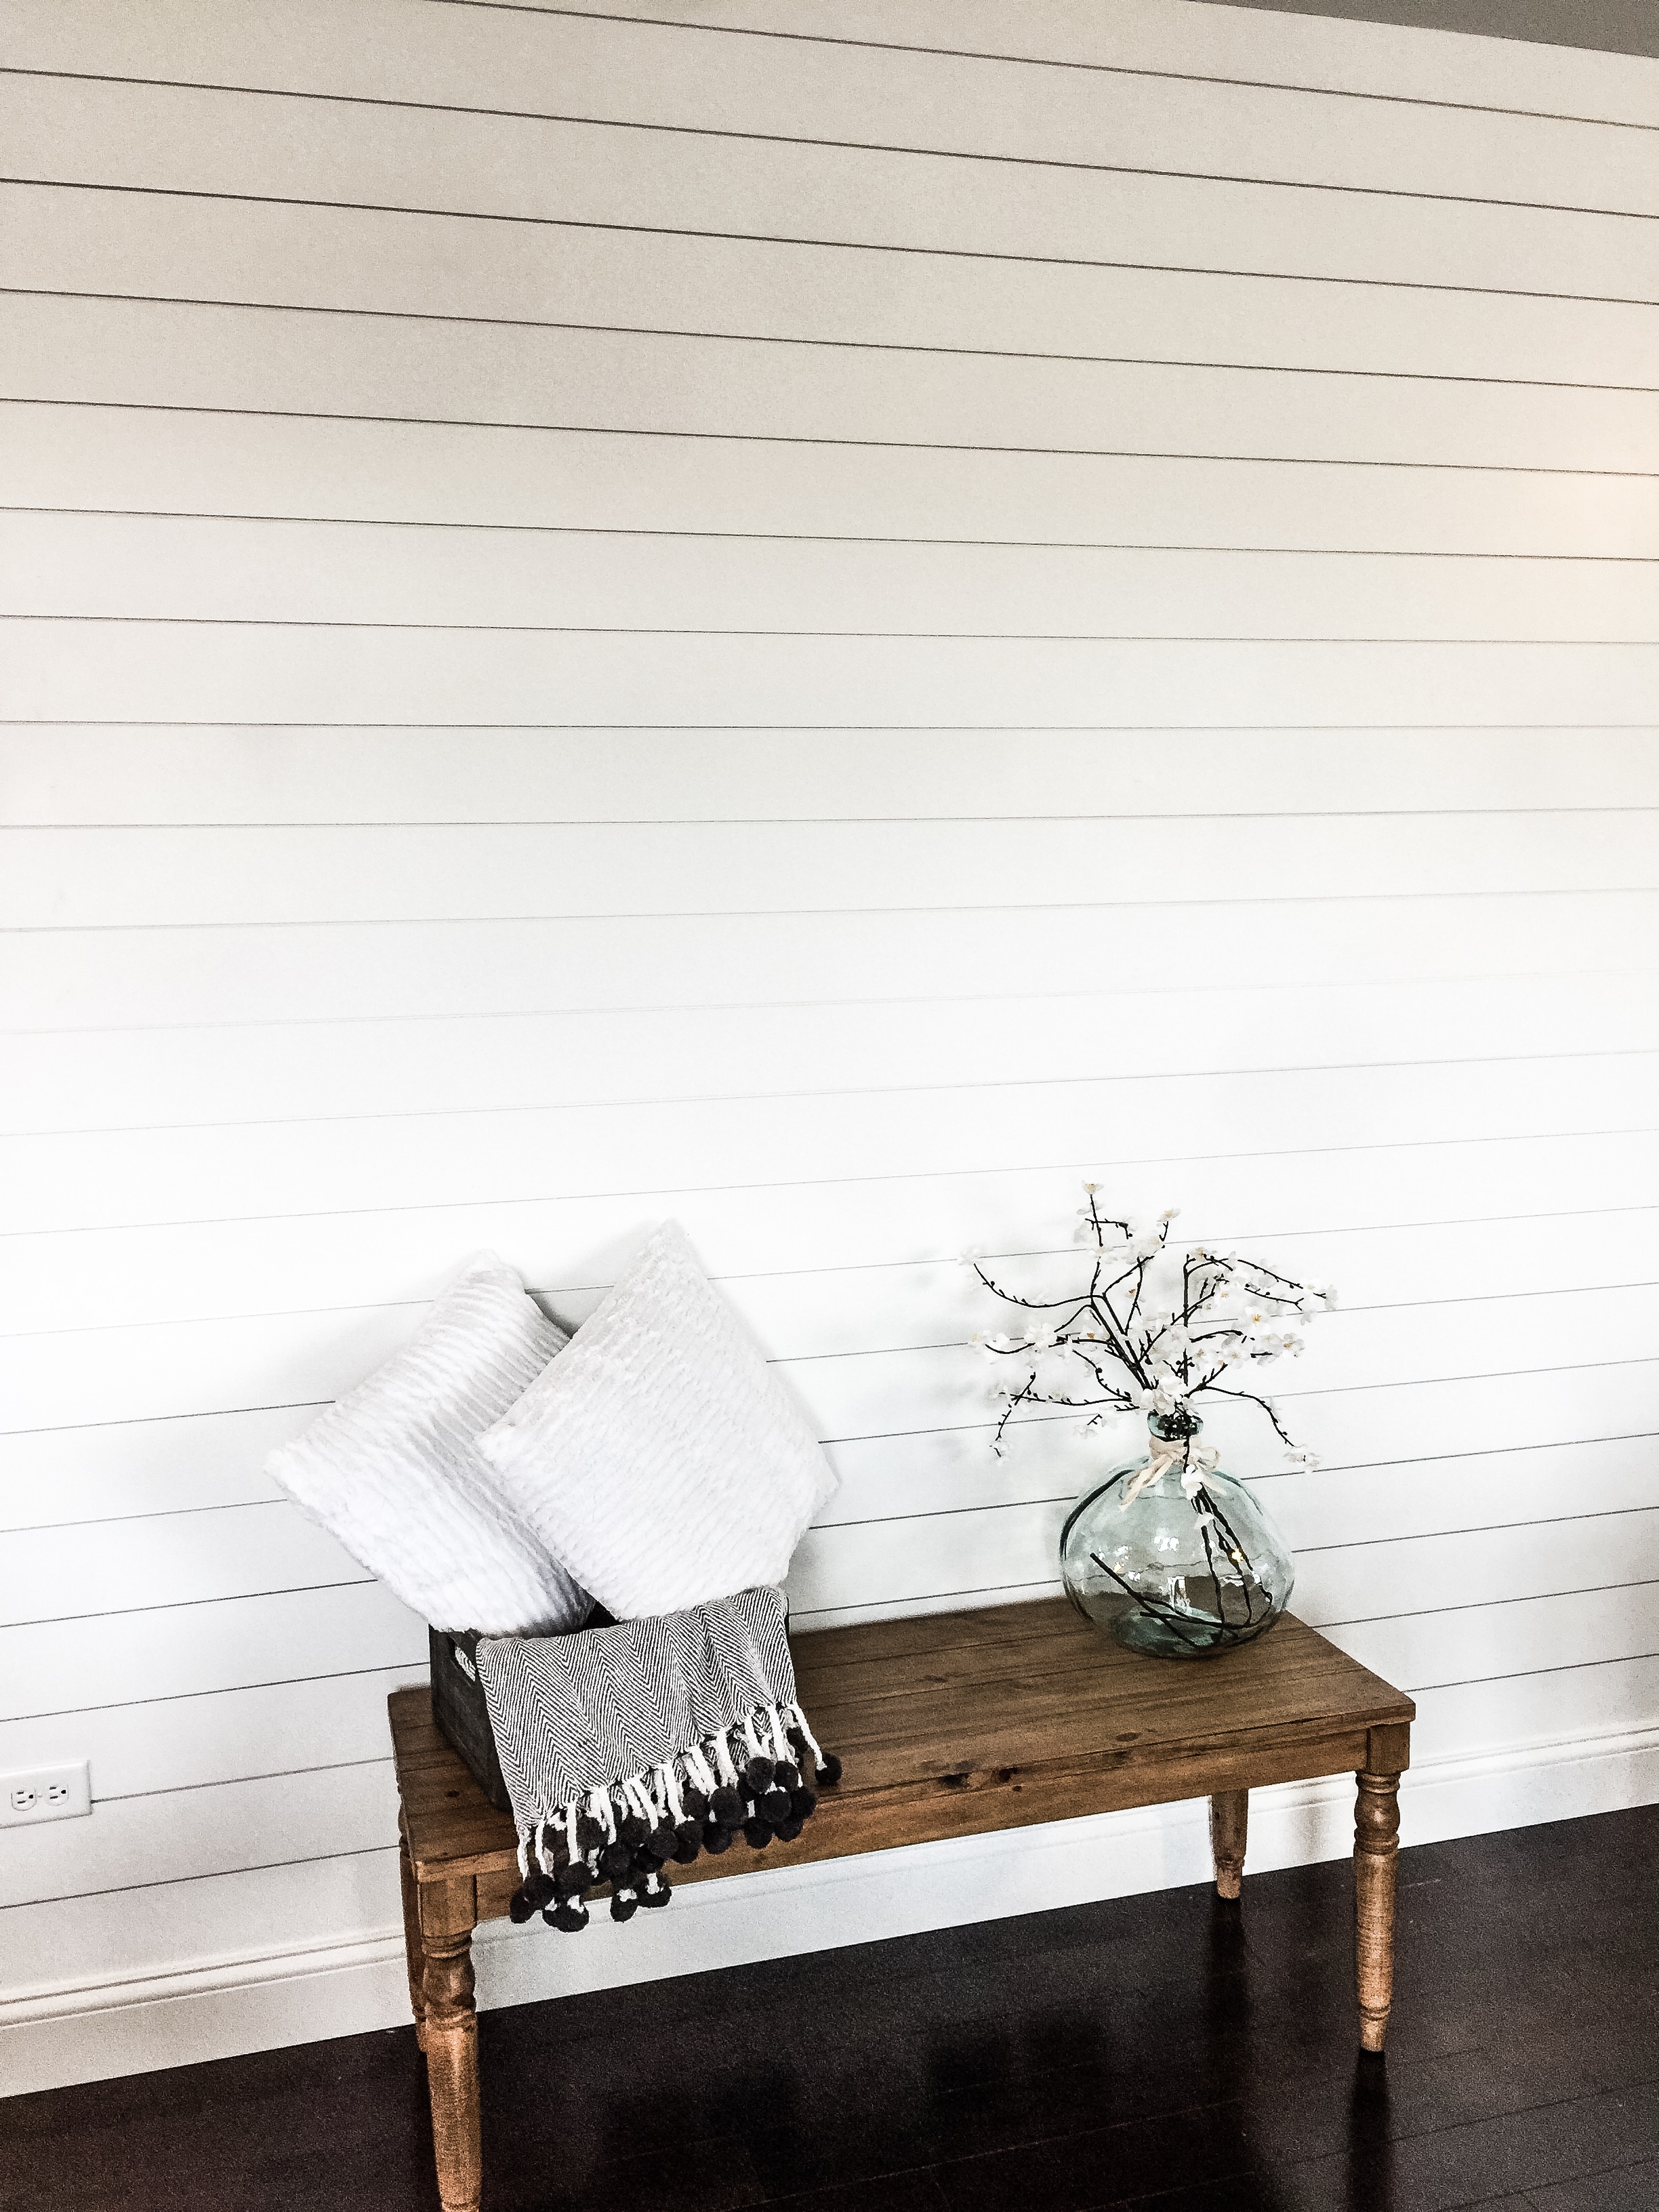
once you get over the outlets and vents its very easy you just keep stacking. Many people use nickles or spacers to space the boards. We didn’t have time for all that we dug out some paint stirrers and threw them between each board for spacers and it worked great plus saved us some time. Once the boards were all nailed in, we added some trim and put the outlet and vent covers back on. All the hard work is forgotten and then end result was better than expected. Maybe next weekend we will do another wall 😉